Logging into Artera Analytics Plus
- Get Started
- Troubleshooting and FAQ
- Release Notes
- Patient Channel
- Triggers
- Technical Specifications
- Patient Facesheet
- Insights & Analytics
- Conversation Flows
- Campaigns
- SMS Basics
- Inbox
- Lines & Resources Requests
- Lines, Events, Resources
- Referrals
- AI Agents
- Add-Ons
- Users and Groups
- Platform Settings and Configuration
- Self-Rescheduling
- Recalls
- Artera Harmony Federal Edition
- Marketplace
Table of Contents
Creating your Artera Analytics Account Logging into LookerOption 1 - Logging into LookerOption 2 - Accessing Looker from within ArteraFAQs for Accessing Looker from within ArteraLet’s review how to create your Artera Analytics Plus account with Looker and set up two-factor authentication.
What is Looker?
Looker is an industry-leading business intelligence and data visualization tool. Artera has partnered with Looker to provide you with a powerful reporting suite.
Why Two-Factor Authentication?
Two-Factor Authentication provides an additional level of security for your reports, many of which contain PHI.
Creating Your Artera Analytics Account
-
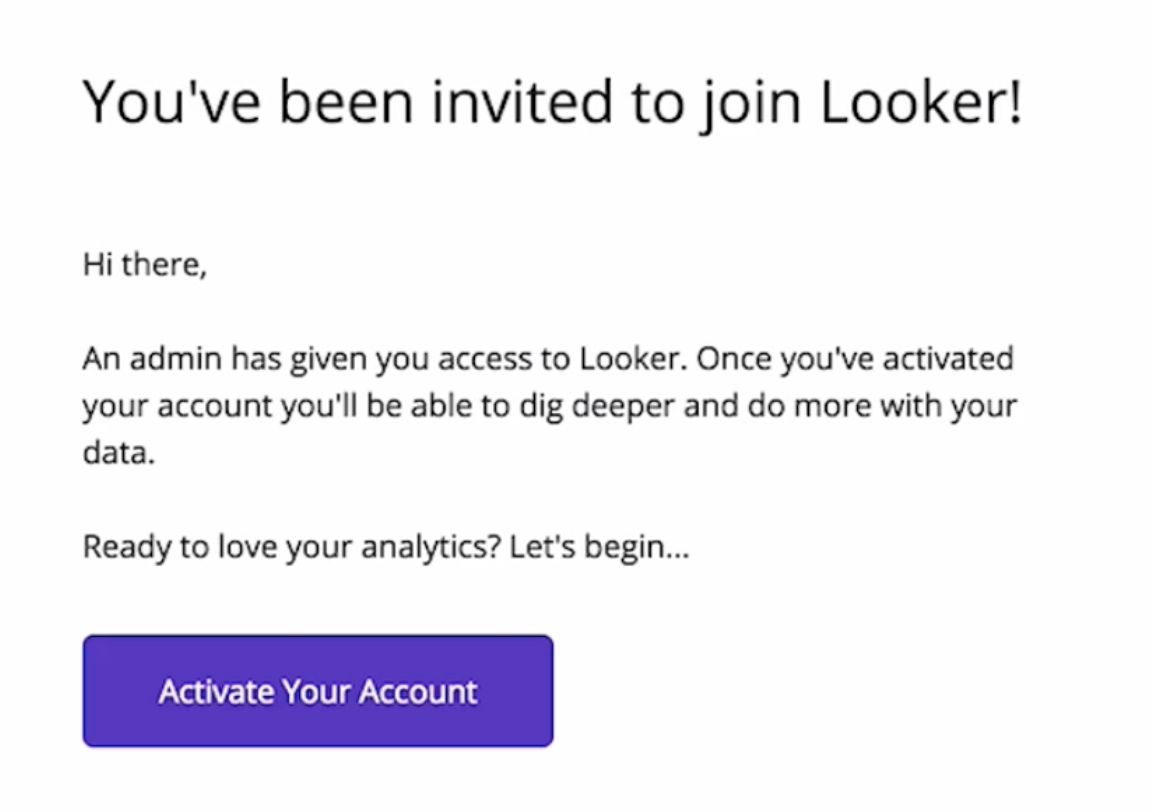
Once you have been added as a Looker user, you will receive an email from Looker. Don’t see the email? Try searching for hello@artera.io or noreply-analytics@artera.io.
NOTE: To prevent issues with receiving the Looker email, ensure that your organization whitelists amazonses.com.
-
Next, select the Activate Your Account button. Your invitation will expire in 24 hours. If your access link expires, please reach out to your Artera Customer Success Representative for assistance.
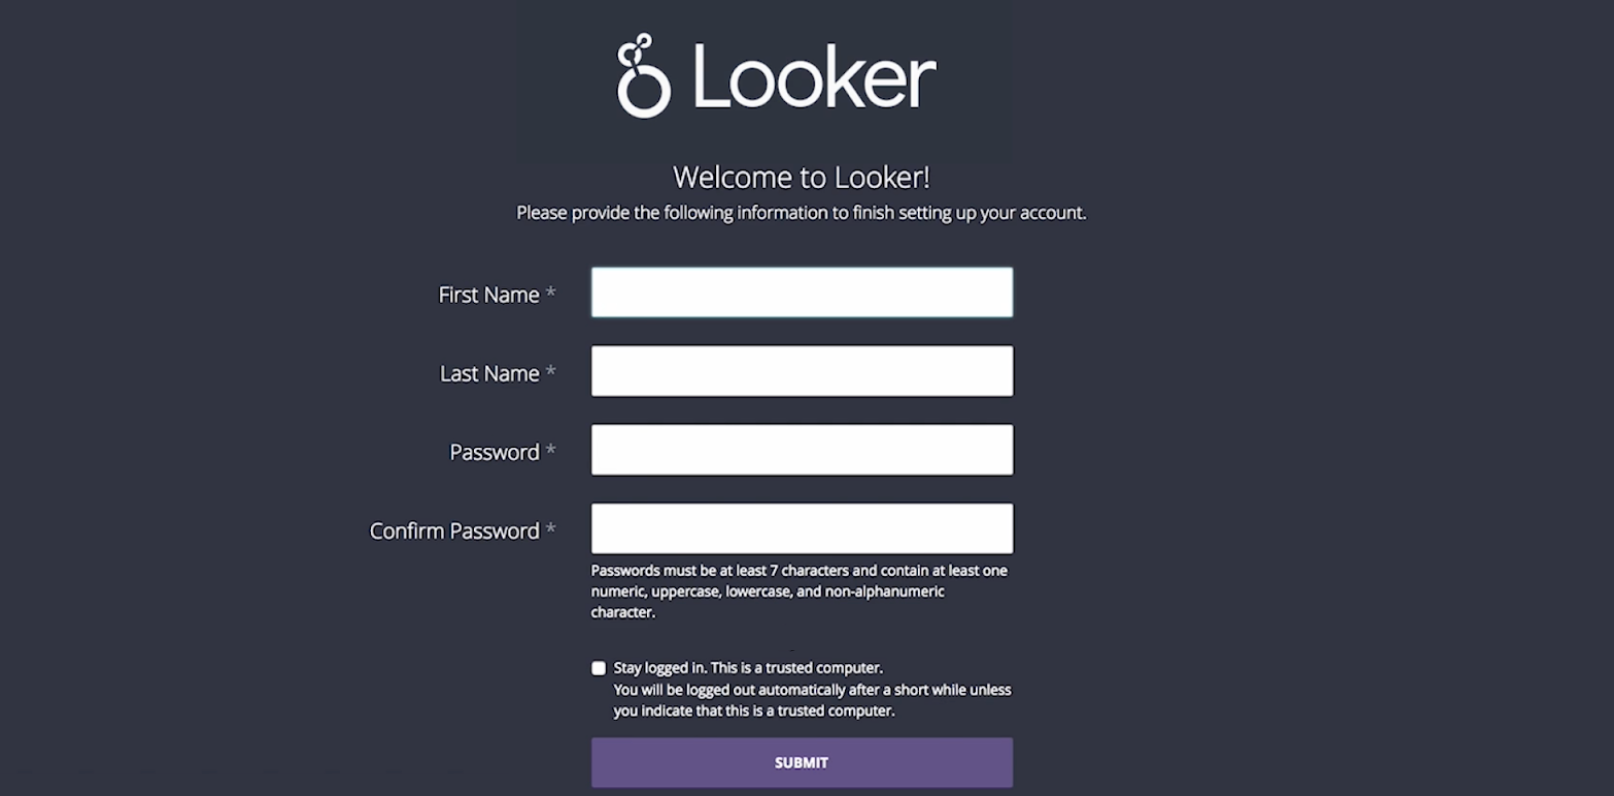
- Create your account by entering your name, choosing a password, and selecting Submit.
-
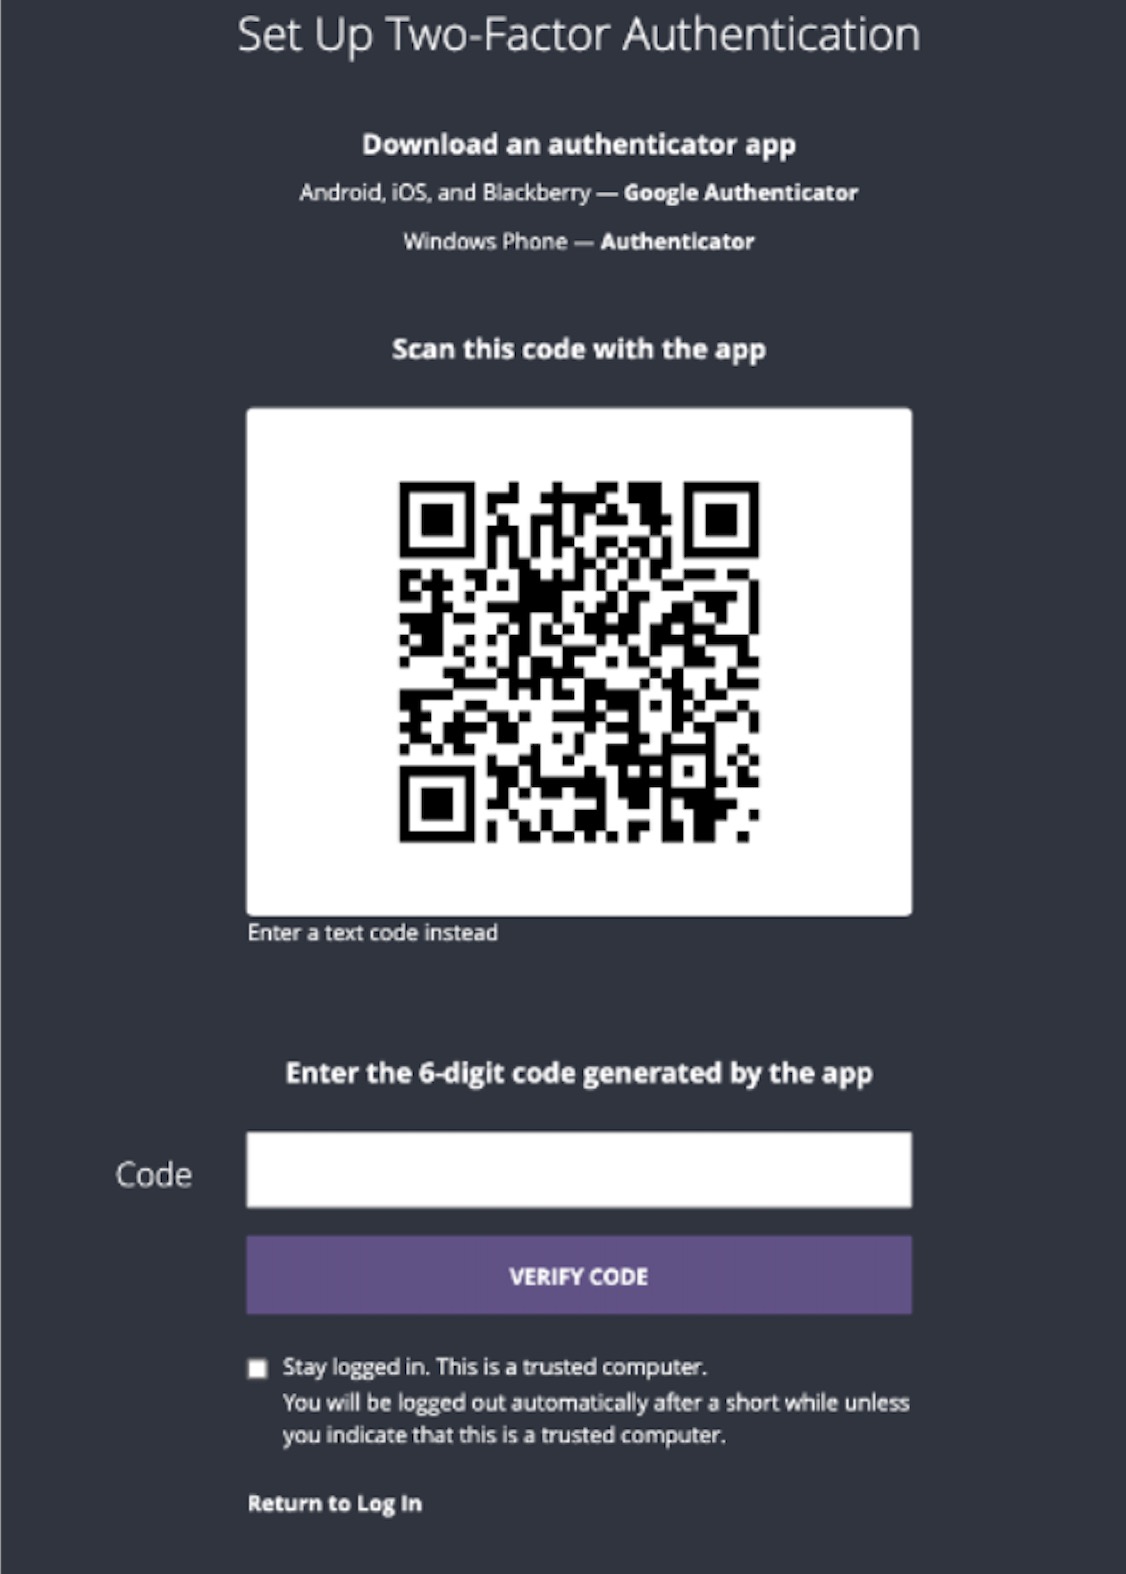
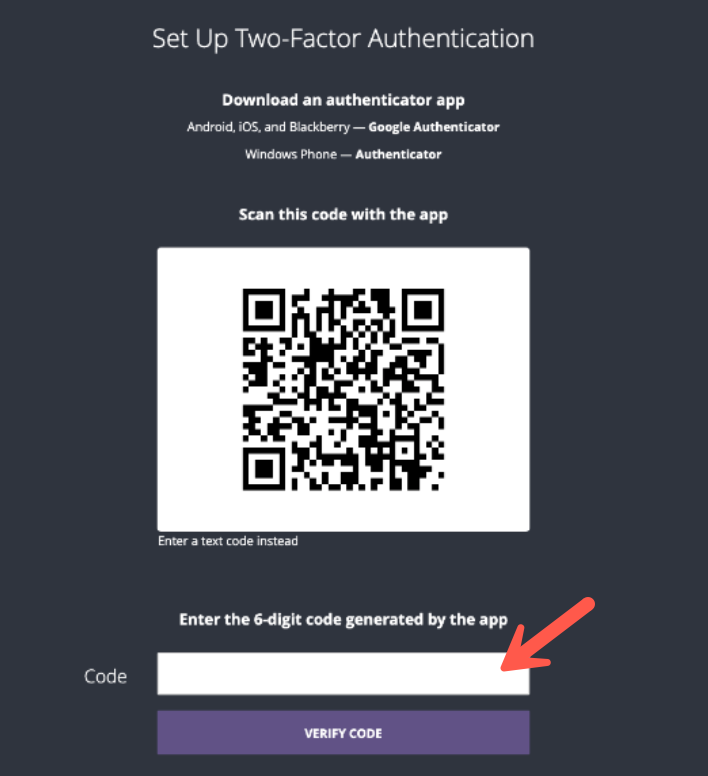
Once you create your account, you will see a QR code on the screen and the request to download an authentication app.
-
Open the Authenticator app of your choice and scan the QR code.
NOTE: If you cannot scan the code, select the Enter a text code instead link underneath the QR Code.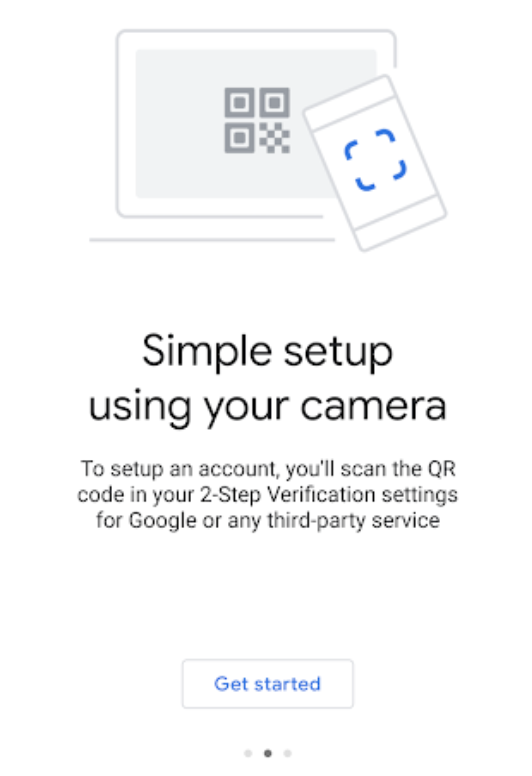
-
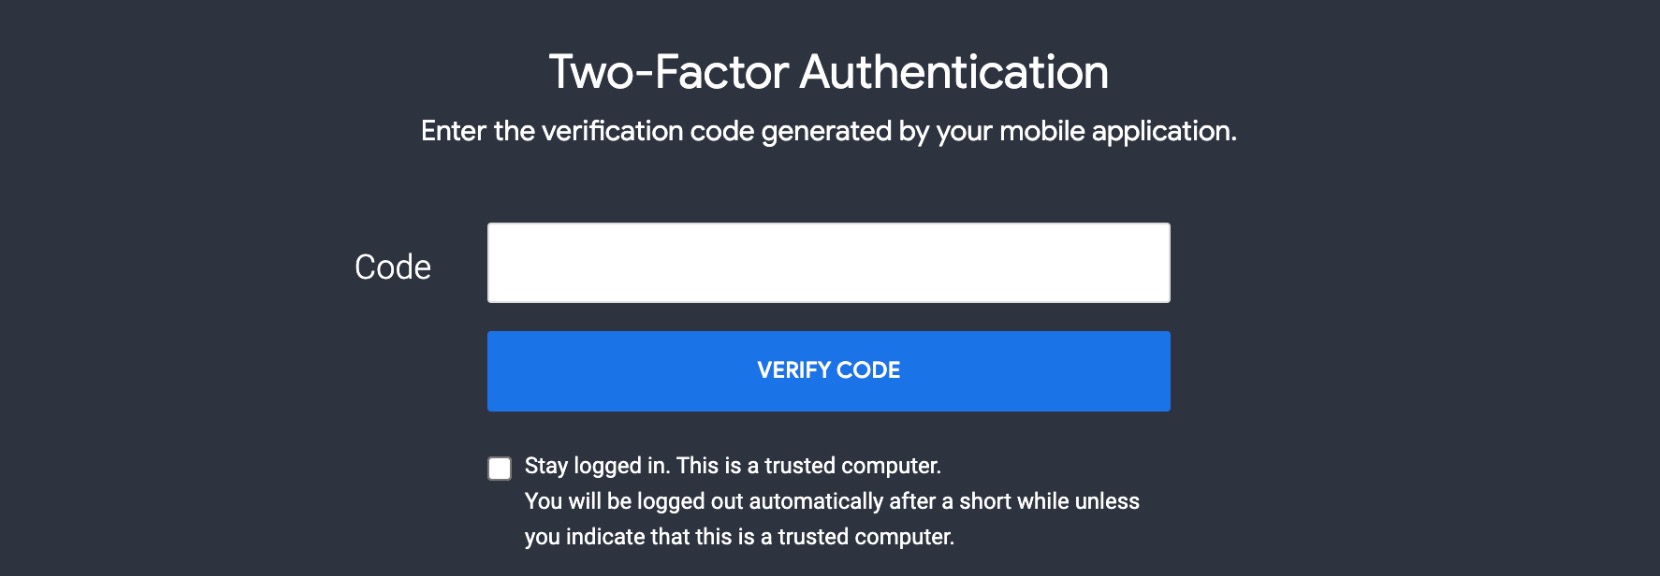
Next, enter the 6-digit code from the Authentication app into the Code field in Looker and select Verify Code.
-
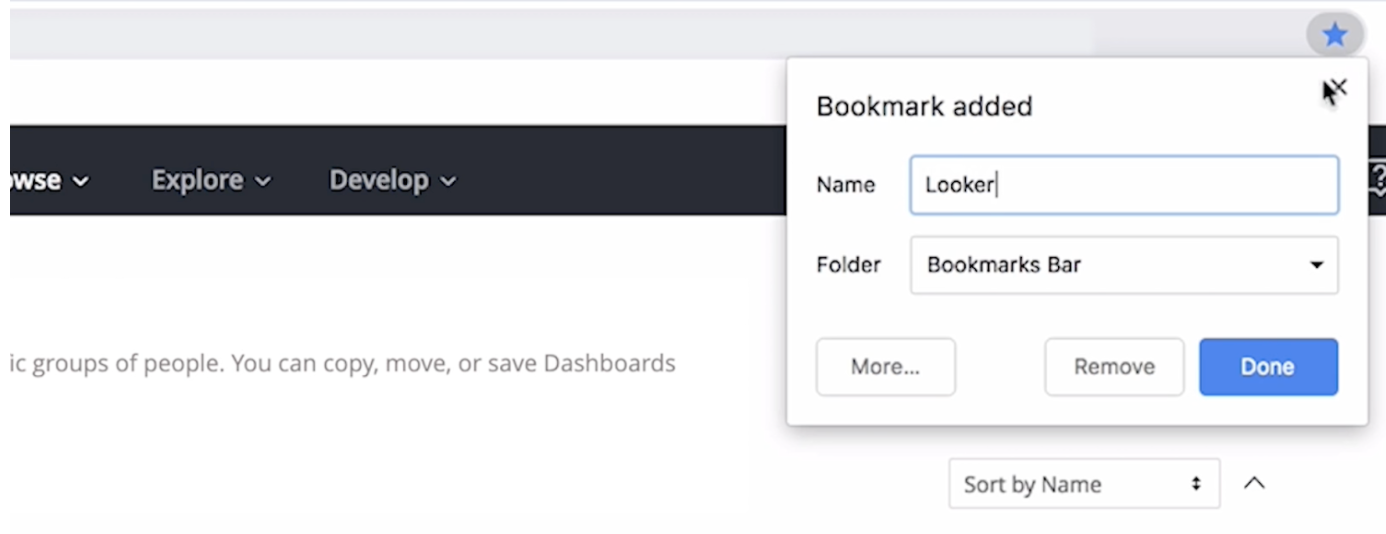
Once you have logged in, we recommend bookmarking Artera Analytics URL for ease of locating it in the future https://arteraanalytics.com/folders/home/
Logging into Looker
Option 1 - Navigating to Looker
-
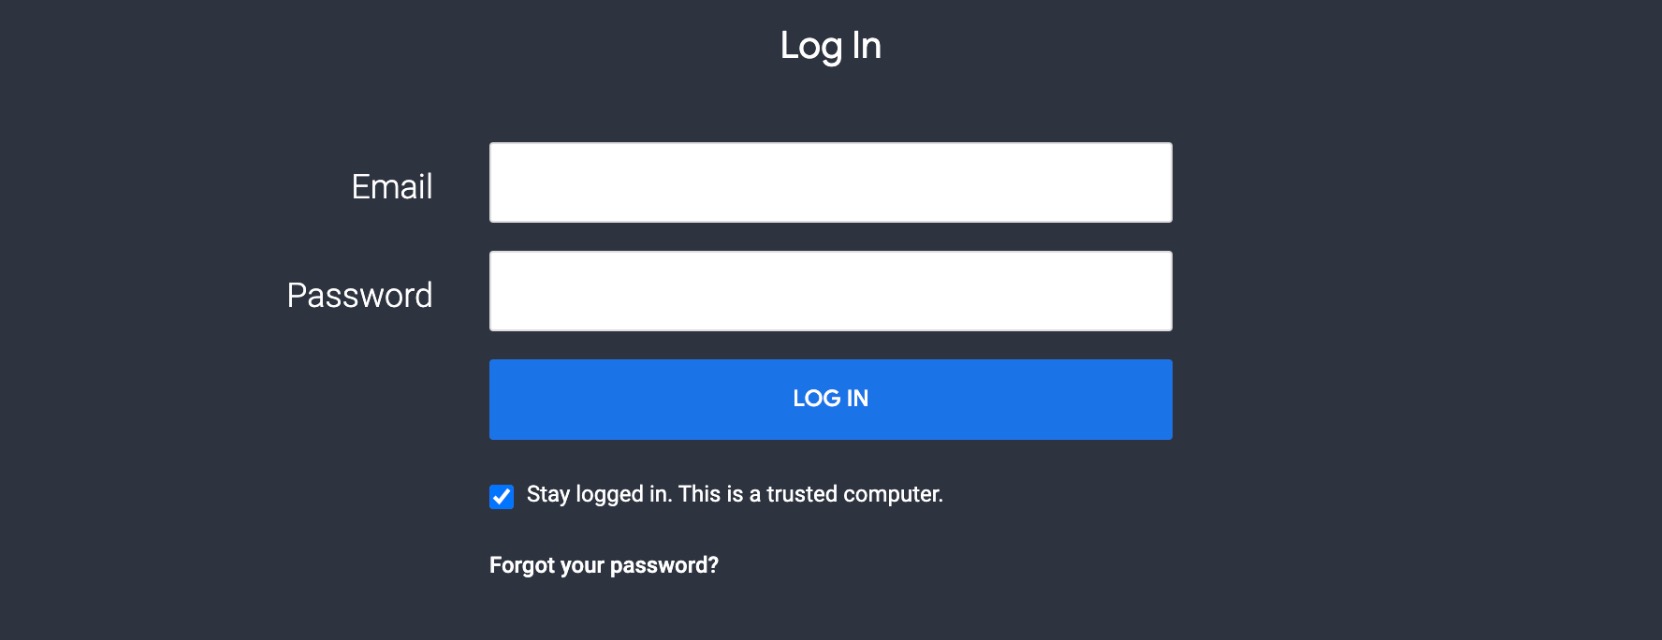
Navigate to https://arteraanalytics.com/folders/home and enter your email and password.
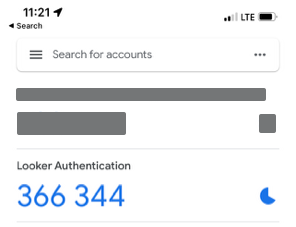
- Next, open your authentication app (typically Google Authenticator) and locate the 6-digit code.
-
Enter this code into Artera Analytics and select Verify Code to sign in.
Option 2 - Accessing Looker from within Artera
- Log in to your Production Artera environment
- Navigate to Insights from within the Navigation Bar

-
At that point, you will be routed to the Insights page:

- Artera Analytics Plus users will see the Open Artera Analytics Plus button on the upper-right corner of the screen. Selecting this will route you to Looker to access your Analytics Plus reports.
- After selecting Open Artera Analytics Plus, you will then be asked to log in to Artera Analytics Plus using your Looker credentials. Once successfully logged in from within Artera, you will remain logged in for approximately 30 days.

FAQs for Accessing Looker from within Artera
-
I am an Enterprise User but do not have a Looker account, how can I request access?
- To request access to Looker, please connect with your Customer Success Representative.
-
Where does the Settings tab within the Insights page lead users?
- The Settings tab will take Enterprise Users to the Data Consent Policy setting. Click here for more information.
-
Will I be able to access my organization’s custom Artera reports from within Artera if I’m an Enterprise user?
- No. All custom reporting must be accessed from within the Looker platform.
-
Will I be able to access the reports I’ve created with my Self Service Analytics account?
- No. All Self Service reports must be accessed from within the Looker platform.