Send a Community Outreach Campaign
- Get Started
- Release Notes
- Triggers
- Patient Channel
- Troubleshooting and FAQ
- Patient Facesheet
- Technical Specifications
- Insights & Analytics
- Inbox
- Conversation Flows
- Campaigns
- Lines & Resources Requests
- Lines, Events, Resources
- SMS Basics
- Automations
- Referrals
- AI Agents
- Add-Ons
- Users and Groups
- Platform Settings and Configuration
- Self-Rescheduling
- Recalls
- Marketplace
- Artera Harmony Federal Edition
Let’s review how to create a Campaign to reach your new member list.
Add Member List to SFTP
Each time you receive a new member list and add it to the SFTP exchange folder set up during implementation, be sure to use the same member list format as previous files. Based on the SFTP exchange cadence (typically once per day), Artera will pull the list of members into your Community Outreach Enterprise. You can only create and send the Campaign once that list has been ingested.
How do I know if the list of new members has been added to Artera?
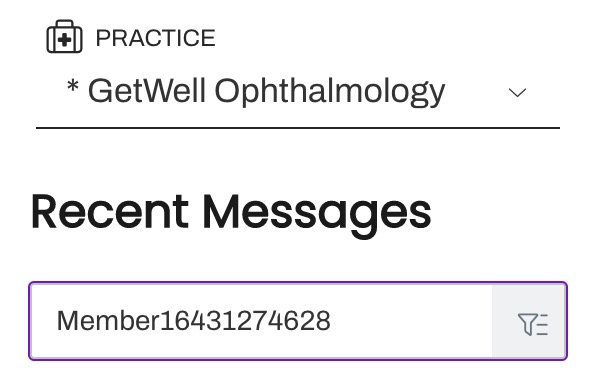
The simplest way to determine if the new members have been populated in your Community Outreach Enterprise is to search for a member (or two) from the new list using the unique Member ID. If you locate the member, you are ready to send the Campaign.

Build Campaign
To create a Community Outreach Campaign for your member lists, follow our Campaigns Overview documentation. Note: Community Outreach messages should be sent as unsecured (ensure the lock icon is open) messages.
Use the messaging examples below to help craft your Community Outreach Campaign messaging.
Message Examples
Enabling Campaigns
Once you have saved your Campaign, remember it must be enabled.