Recall Details: Patient Facesheet
- Get Started
- Release Notes
- Triggers
- Patient Channel
- Troubleshooting and FAQ
- Patient Facesheet
- Technical Specifications
- Insights & Analytics
- Inbox
- Conversation Flows
- Campaigns
- Lines & Resources Requests
- Lines, Events, Resources
- SMS Basics
- Automations
- Referrals
- AI Agents
- Add-Ons
- Users and Groups
- Platform Settings and Configuration
- Self-Rescheduling
- Recalls
- Marketplace
- Artera Harmony Federal Edition
Table of Contents
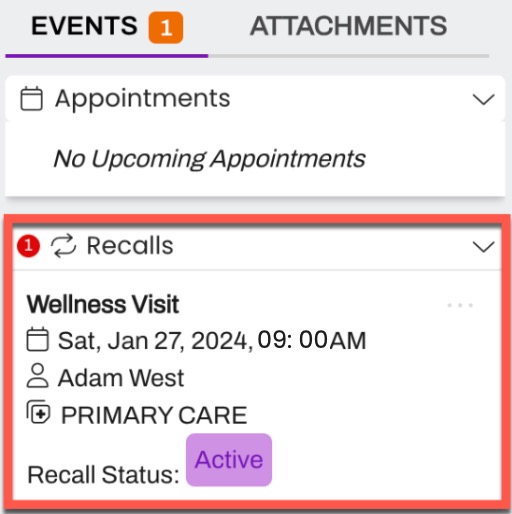
Available Recall Actions View Recall Status History Mark as CanceledMark as CompleteIf implemented by your organization, Recalls display on the Patient Facesheet under the Recalls section within the Events tab. Click here to learn more about Recall Leading Practices.
Available Recall Actions
There are three actions that can be taken on Recalls from the Patient Facesheet:
View Recall Status History
Mark as Canceled
Mark as Complete
View Recall Status History
The Recall Status indicates to Artera if a patient still needs to be outreached. The three Recall Statuses are: Active, Canceled, and Complete.
To view a Recall’s Status History, select the Recall’s (...) menu and choose View Recall Status History: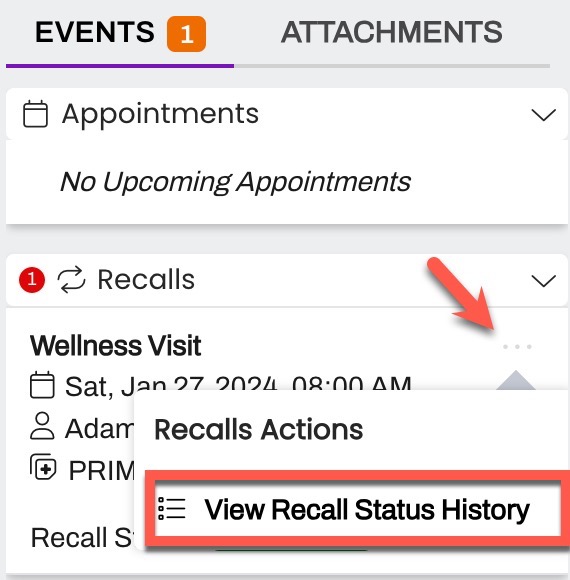
Mark as Canceled
When a patient no longer needs the Recall, it can be manually canceled from the Patient Facesheet.
To cancel a Recall, select the Recall’s (...) menu and choose Mark as Canceled:
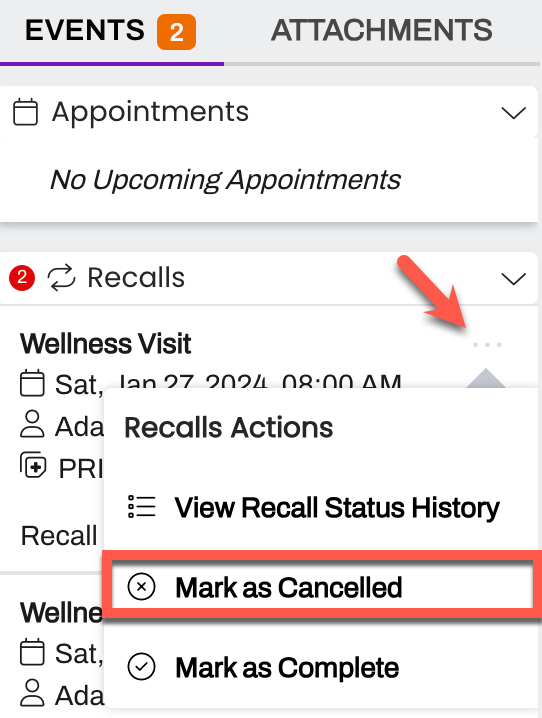
Once Canceled, the Recall Status will display as the following:
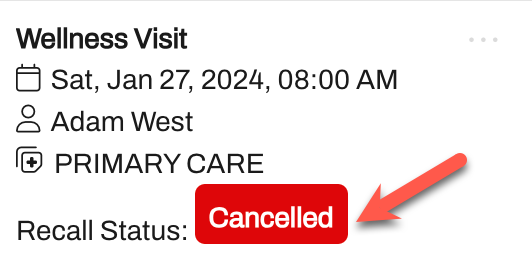
Mark as Complete
When a patient has already scheduled the appointment they are due for, the Recall can be completed.
To mark a Recall as Complete, select the Recall’s (...) menu and choose Mark as Complete:
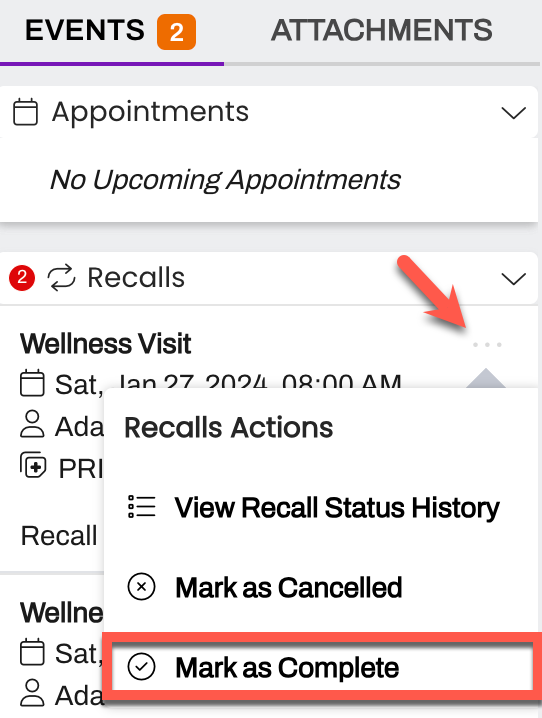
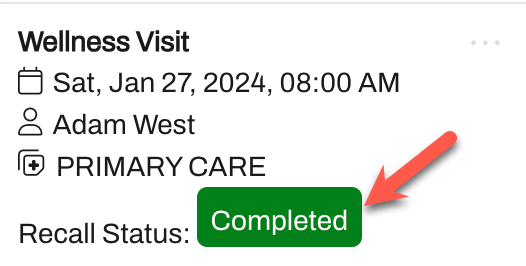
Once marked as Complete, the Recall Status will display as the following: