Default Automations - Recalls
- Get Started
- Release Notes
- Triggers
- Patient Channel
- Troubleshooting and FAQ
- Patient Facesheet
- Technical Specifications
- Insights & Analytics
- Inbox
- Conversation Flows
- Campaigns
- Lines & Resources Requests
- Lines, Events, Resources
- SMS Basics
- Automations
- Referrals
- AI Agents
- Add-Ons
- Users and Groups
- Platform Settings and Configuration
- Self-Rescheduling
- Recalls
- Marketplace
- Artera Harmony Federal Edition
Table of Contents
Default AutomationsCreate a New Recall AutomationConfigure Automation MessagingSet Recall TimingRecall TriggersSend RulesMerging MessagesEnable Default AutomationsManaging AutomationsEditing an Enterprise AutomationCreating Automations From TemplateThis article focuses on how to configure Default Automations for the Recalls Module. Click here to learn how to configure Recall Automations at the Practice-level.
Default Automations
Automations created for the Enterprise are called Default Automations. Default Automations are then filtered at each Practice-level within the Practice Automations section.
This allows Recall Automations to be sent based on Practice specifications such as Events, Providers, Locations, and Lines, while preserving an Enterprise-wide cadence and message content.
Page Overview

- Create Automations: Click this button to build a new Default Automation.
- Expand SMS Text: Click this link to preview the Automation's text message content. This does not display any translations.
- Description: This is established when creating the Automation and serves as the Automation title.
- When: This indicates when the Automation will be sent (triggering conditions).
-
Send Via: The icons display which message types the Automation can be sent by Text, Call, and Email.
-
The color of the SMS icon indicates message length:
- Green: less than 160 characters
- Yellow: between 161 and 249 characters
- Red: 250+ characters
-
The color of the SMS icon indicates message length:
Create a New Recall Automation
-
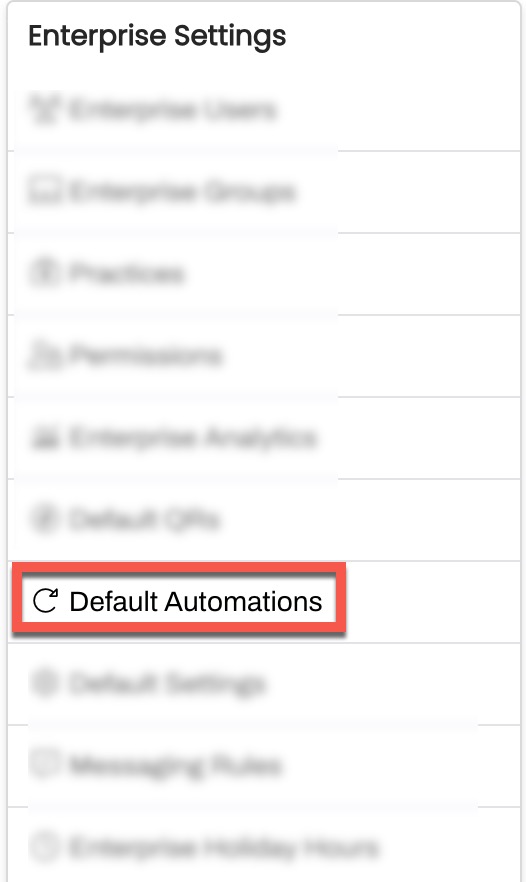
Select Default Automations from within the Enterprise Settings menu.

- Select Create Automation.
-
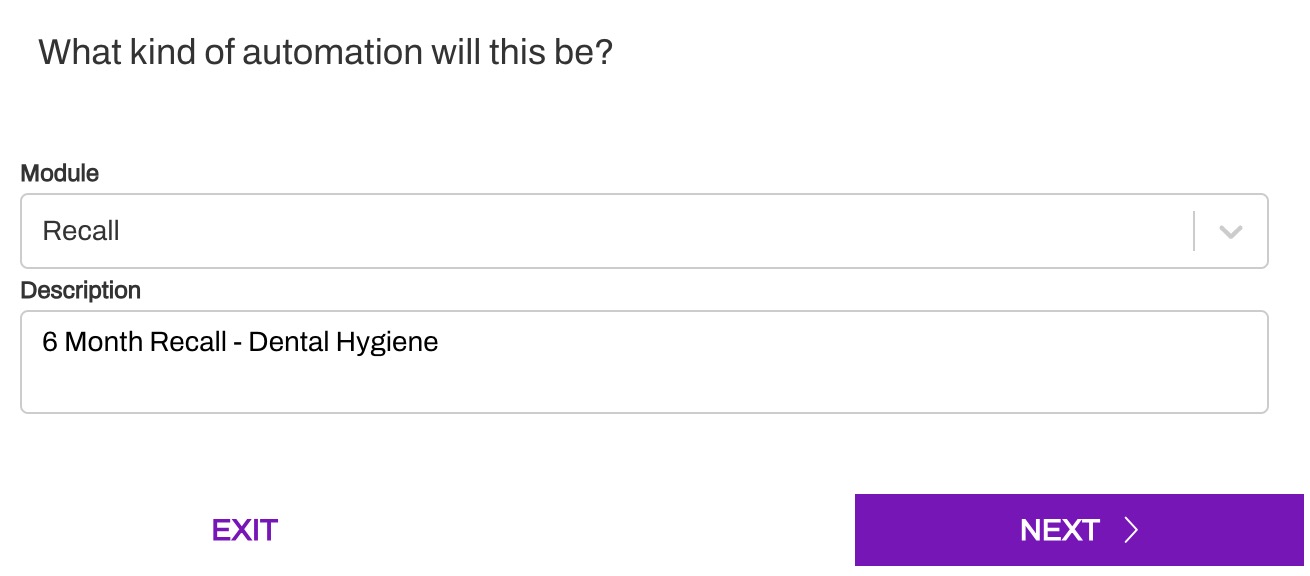
Choose Recall from the Module drop-down and add a short Description. This will act as the Automation's title so be sure to use consistent naming conventions.

-
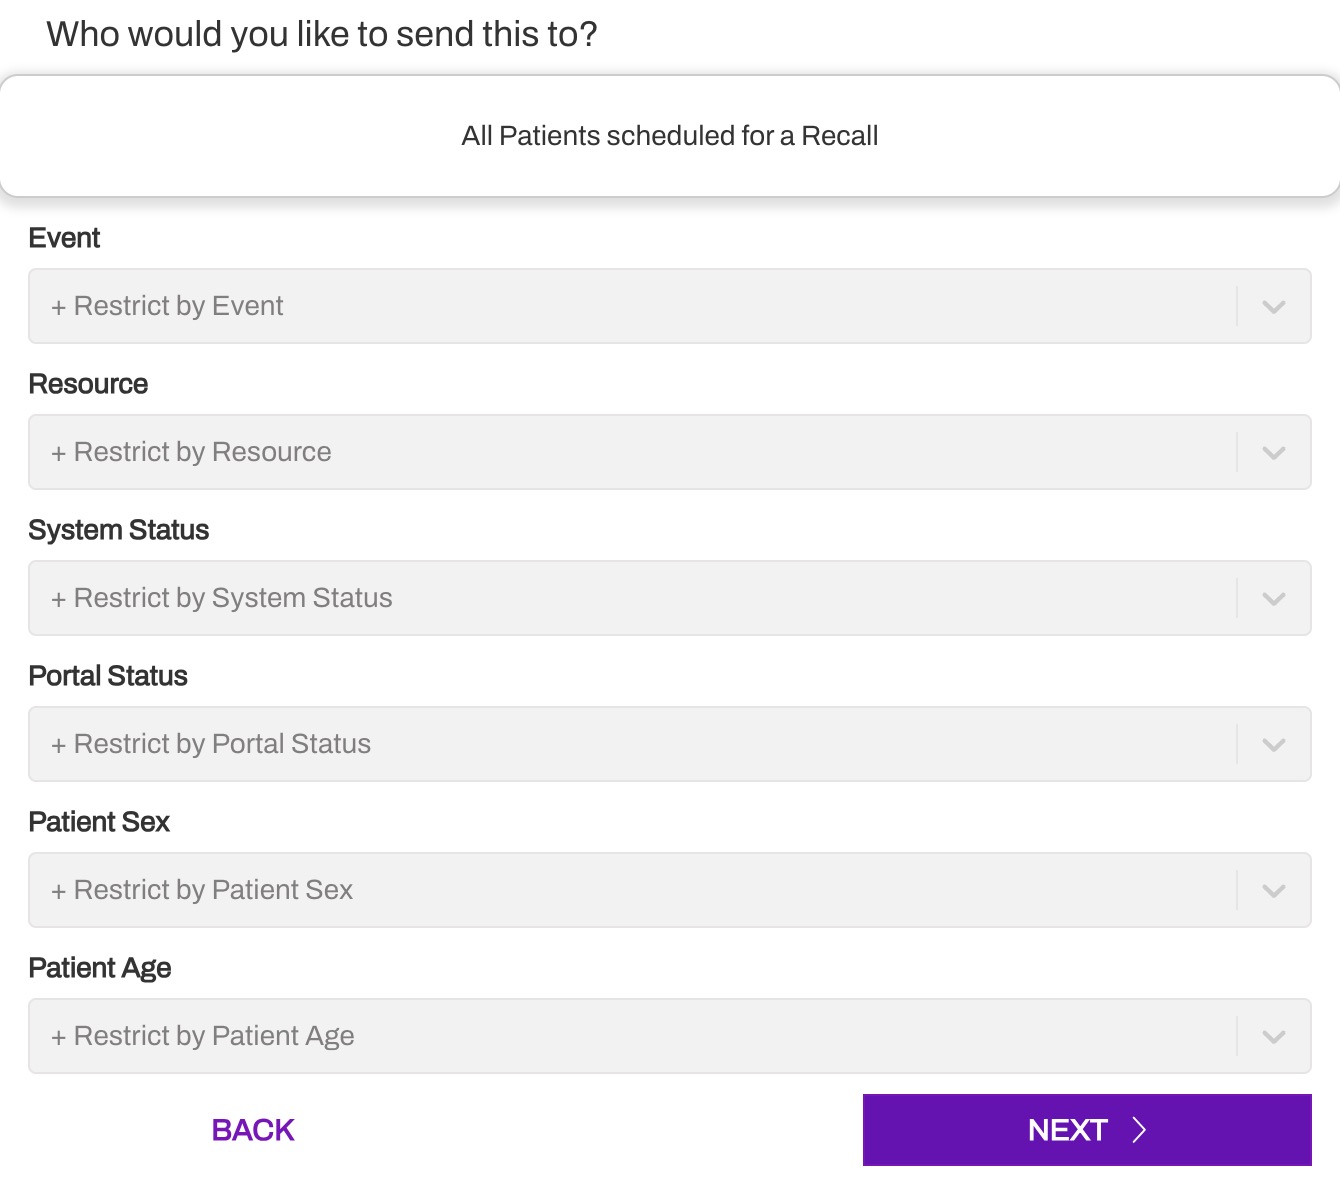
The 'Who would you like to send this to?' section of the Automation build is uneditable as Restrictions (Filters) are established during the Practice configuration of the Automation. Click Next.

Configure Automation Messaging
Next, you will create the Automation's message for each of the delivery methods the Automation will support. Available delivery methods includes Text, Call, and Email. If necessary, each delivery method can be customized with varying messages.
We recommend keeping text content short to optimize the patient experience; emails can be longer and require a subject line, and calls should be more conversational. Click here for detailed Message Formatting Guidelines.
You can choose to send Automations by a single delivery method or you can configure them to support all three methods to increase deliverability. If you select multiple delivery methods for your reminder, the patient will never receive all three. How the patient receives the message is based on their Patient Communication Settings.
Tip: Check out our recommended message scripts in the Recall Automations Overview and Leading Practices article.

Set Recall Timing
Next, determine when the Automation should be sent (e.g. 15 minutes after the Recall Created, 6 weeks before Recall Time, etc.).
For Recall Automations, there are five message triggers and associated send rules. Check out this article for our leading practice recommendation on Recall Automation timing.

Recall Triggers
- Recall Time: Trigger Automation based on when the Recall is 'due' (e.g. send 4 weeks before the Recall should occur for the patient).
- Recall Created: Trigger Automation based on when the Practice created the Recall (e.g. send 15 minutes after Recall was created).
- System Status Change: Trigger Automation based on when the status of the Recall has changed (e.g. send when Recall changes from Active to Cancelled).
- Date or Time Change: Trigger the Automation if the Date or Time of the Recall has been updated (e.g. Recall was 6 months, but now needs to be 3 months based on labs).
- Location Change: Trigger the Automation if the Location associated with the Recall changes (e.g. Recall was for a specific clinic, but clinic location closed).
Send Rules
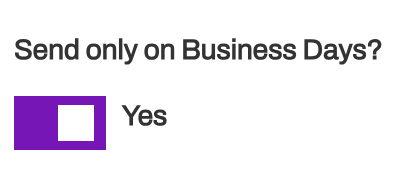
Send Only on Business Days?
This rule is available for Recall Time, Recall Created, Location Change, and Date or Time Change triggers.
Note: This setting will not be modifiable unless the Automation is set to send at least 15 minutes after the trigger.

Business Days are determined by your Practice and Line Hours. Any day that your Practice or Line is open for any duration of time counts as a Business Day in Artera. Note: In Practices set up for Appointment Reminders only, all days are Business Days, so this toggle does not impact your Automations.
System Status Change Ignores Business Hours
If you set the Automation to occur upon System Status Change (e.g. Active to Complete), the Automation will go out regardless of Business Hours. Instead, the timing of the message depends on when your system of record sends status updates to Artera.
Some systems can send information in real-time, while others complete a batch update once per day (typically in the middle of the night). For systems that batch overnight, consider using a trigger that is focused on Recall Time.
Suppress Automation for same-day recalls?
When using the Recall Created trigger, you can choose to not send the patient an instant message for their Recall visit.

Consider TCPA (Telephone Consumer Protection Act) Guidelines
Artera enables you to send or suppress automated reminders based on TCPA guidelines. Choose between sending the message immediately, scheduling the message within the TCPA guidelines, or not sending the message at all. Click here for a full breakdown of TCPA Hours and how it impacts messaging.
When considering Recall Automations, we typically recommend choosing to Adjust the Delivery when available, which will respect TCPA hours. Generally, most appointments fall within standard business hours, so that adjustment is typically minimal.
For example, if the patient is receiving a Recall to remind them to schedule their Annual Wellness visit, these Recalls are typically created during business hours. So if the Recall was created at 7:30 am, the 26-week Recall will send around 8:00 am.
Merging Messages
When a patient has several follow-ups on the same day within the same Practice, you can use Merged Messages to prevent the patient from receiving duplicate messages.
For example, if a patient has an annual checkup and also will get bloodwork done on the same day, the 52-week Recall can be merged to ensure the patient only receives one message to schedule their visit.
Click here to learn more about Merged Messages.
Merge Messages Considerations
- You cannot merge multiple distinct Automations. For instance, if one Automation is set up to send a reminder for Dr. Jacobson and a second Automation sends reminders for a separate Provider (Dr. Smith) at a separate Location, the patient would still receive two messages one for Dr. Jacobson and one for Dr. Smith.
- Automations that are configured to send from different Lines can be merged as long as they are in the same Practice.
- You cannot attach a Form to a merged message.
- Merged messages respect patients, not phone numbers. So, even if two patients that share a phone number have the same type of appointment on the same day, the messages will not be merged.
Managing Automations
It is important to have a strategy to ensure that your Automations stay up-to-date over time. Click here to learn more.
Editing an Enterprise Automation
As an Enterprise user, you can edit the Default Automations so that the Automations are updated for all Practices that use them:
- Navigate to Default Automations.
- Select the Automation you wish to edit by clicking the three vertical dots on the right side and choose Edit Automation.
- Select Update when done to save your changes.
Creating Automations From Template
You can create Default Recall Automations and then use them as a template for new Recall Automations that have similar functionality.
Navigate to the Actions (...) Menu of the Automation you would like to copy. Select Use as Template.
