Referral Location or Speciality Setup
- Get Started
- Release Notes
- Triggers
- Patient Channel
- Troubleshooting and FAQ
- Patient Facesheet
- Technical Specifications
- Insights & Analytics
- Inbox
- Conversation Flows
- Campaigns
- Lines & Resources Requests
- Lines, Events, Resources
- SMS Basics
- Automations
- Referrals
- AI Agents
- Add-Ons
- Users and Groups
- Platform Settings and Configuration
- Self-Rescheduling
- Recalls
- Marketplace
- Artera Harmony Federal Edition
Table of Contents
Setting up Specialty Referrals Assign Specialty to Practice Assign Specialty to LineArtera can route the Referral by Referred to Location or Referred to Speciality.
Locations: Location routing will map the Location ID of the Referral to the Location ID in Artera.
Specialty: Specialty Routing requires the specialties to be created in Artera as Location Resources and assigned to individual Practices. This also allows you to choose which specialties you would like to support for Referrals in Artera.
The option you choose will determine which Resource(s) you select when building your Referral Triggers.

A note about Routing Referrals based on Location
If you map referrals to Locations, any referred to/referred by Location will automatically populate as a Location Resource in the Practice (regardless of if it was mapped there initially or not). While this does not impact how referrals function, it can lead to Resource bloat.
Setting Up Speciality Referrals
Referral Specialities are collected through the Speciality Details & Mapping spreadsheet and uploaded to Artera. These will appear within the Location Resource page. Similar to Location Resources, these specialities must be mapped to the related line in order for Triggers to send correctly.
Assign Speciality to Practice
Once the Specialities have been uploaded to your Artera environment by Artera, they can be assigned to individual Practices. Assigning a Specialty to a Practice automatically creates it as a Resource for the Practice. Let’s review.
-
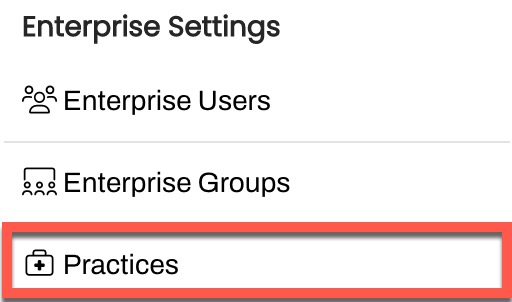
Navigate to Enterprise Settings > Practices.

- Use the (...) menu to select Edit Practice.

-
Choose the related Specialities from the drop-down. Note: A Speciality can only be assigned to a single Practice

- Click Save when done to assign the Specialty to the Practice.
Assign Specialty to Line
Similar to Appointment Triggers, the Specialty must be assigned as a Resource to the line or the Trigger will not send. This is typically done at the end of the implementation process in preparation for go-live. However, if you have added additional Specialties post go-live, do not forget to complete this step.
Ensure you have the correct Practice selected from the Practice drop-down.
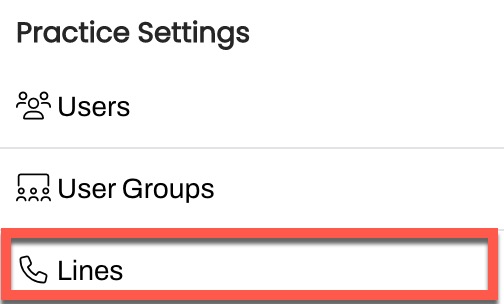
Navigate to Practice Settings > Lines.

Locate the Line to add the Specialty to and click the (...) menu to select Edit Line.

Use the Associated Resources drop-down to select the Specialties.

Click Save to associate the Specialty.
If you have added a new line, you may need to configure specific Line Hours and After-Hours Auto-Responses, if these are different from hours and After-Hours Auto-Response set at the Practice-level. Click here to learn more.