Staff and Manager Users
- Get Started
- Troubleshooting and FAQ
- Release Notes
- Patient Channel
- Triggers
- Technical Specifications
- Patient Facesheet
- Insights & Analytics
- Conversation Flows
- Campaigns
- SMS Basics
- Inbox
- Lines & Resources Requests
- Lines, Events, Resources
- Referrals
- AI Agents
- Add-Ons
- Users and Groups
- Platform Settings and Configuration
- Self-Rescheduling
- Recalls
- Artera Harmony Federal Edition
- Marketplace
Table of Contents
User ProfilesVideo TutorialAdd UsersUser Login InstructionsWho Can Create Users?Edit UsersDelete UsersSearching for UsersStaff User UpdatesThere are three user types available in Artera: Staff, Manager, and Enterprise Users. This article describes how to add Staff and Manager Users. Click here to learn about Enterprise Users.
User Profiles
Staff and Manager Users are created at the Practice-level and have different levels of access:
-
Manager Users
- Designed for users overseeing individual departments and are typically given more access than Staff Users.
- Can access all lines and Resources within the Practice.
- Additional Permissions may be available depending on how the Enterprise is configured.
-
Staff Users
- Designed for users communicating with patients via conversational messaging.
- Can only access the lines that added to their User Profile.
-
While additional Permissions may be available depending on how the Enterprise is configured, this access level is designed for limited access to settings.
Video Tutorial

Add Users
You can only use email addresses with domains that have been whitelisted by Artera. Artera can only whitelist email domains that you own. We cannot whitelist generic email domains such as @gmail.com or @yahoo.com for security reasons.
-
Navigate to Settings and use the Selected Practice drop-down menu to choose the Practice where you will add the user.
NOTE: If a Staff or Manager user needs to have access to more than one Practice, you will need to complete the below process again within each Practice.
-
Select Users from the Practice Settings menu.

- Select + Add User in the upper-right corner of the screen.
-
From the User Type menu, select Staff or Manager.

-
Staff User

- Enter the First Name, Last Name, and Email fields.
- Cell Phone is optional but can be useful for authenticating via cell or receiving Internal Mention notifications if the user is going to be included in an Enterprise User Group.
- Line Permissions: Determine which line(s) the user should be able to send and view messages from. At least one line must be added to every Staff User or they will not be able to see any Patient Channels.
- Select Save Practice User to create the user.
-
Manager

- Enter the First Name, Last Name, and Email fields.
- Cell Phone is optional but can be useful for authenticating via cell or receiving Internal Mention notifications if the user is going to be included in an Enterprise User Group.
- Select Save Practice User to create the user.
-
Staff User
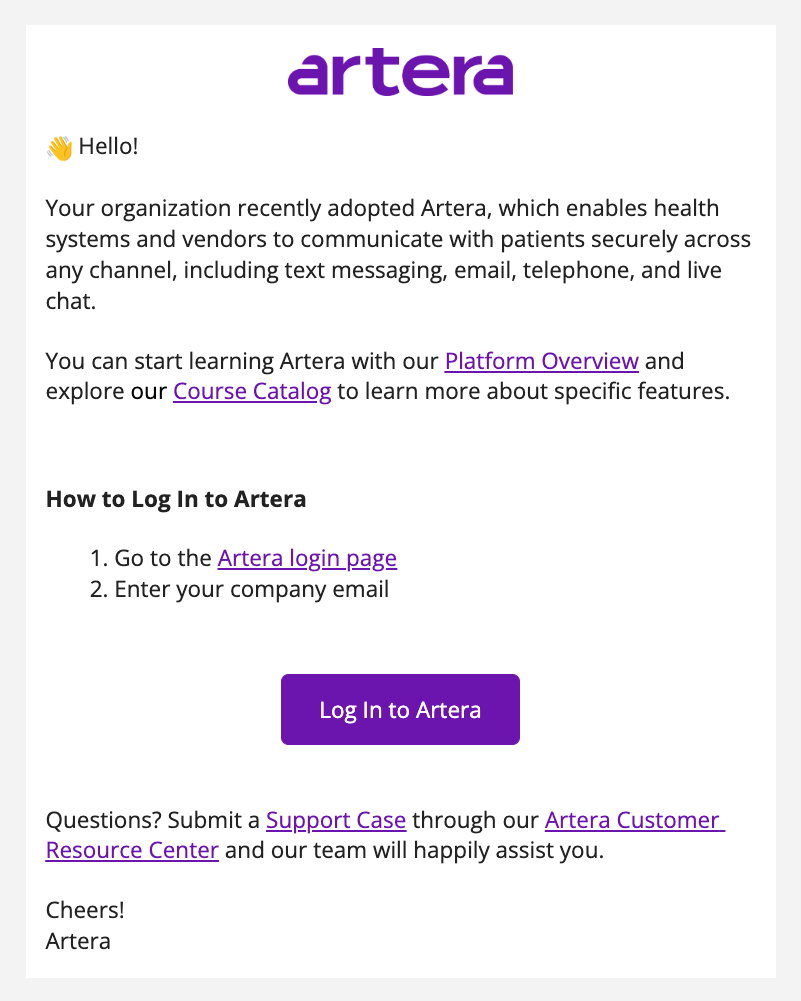
User Login Instructions
The new user will receive a "Welcome" email from Artera with instructions on how to log in:
Add Users with Templates
To speed up user creation, you can use an existing Staff or Manager User as a template.
-
Navigate to Settings and use the Selected Practice drop-down menu to choose the practice where you will add the new user.

- Locate the user you would like to use as a template. Select the user's (...) Actions menu and choose Use as Template.

-
Choose the user type you want to create and enter in user's First Name, Last Name, and Email. If creating a Staff User, add the necessary Line Permissions. These are the lines the Staff User will be able to view and send messages from. When ready, select Save Practice User.

Who Can Create Users?
The user creation Permission is configured in Enterprise Settings. If the "Minimum Access Required" for user creation is set to "Staff", then Staff Users can create Staff Users, Manager Users can create Staff or Manager Users, and Enterprise Users can create all three user types. Alternatively, if the Minimum Access Required is set to "Enterprise", only Enterprise Users can create users.

Edit Users
To edit a Staff or Manager User, navigate to Settings > Practice Settings > Users and locate the user. From the user's (...) Actions menu, select Edit User. Select Save Practice User once all edits are made.
NOTE: Staff Users cannot edit other Staff Users, even if they have the permission to create Staff Users. Manager Users can edit Staff Users and other Manager Users, if they have the permission to create users.

Delete Users
Staff Users cannot delete other Staff Users, even if they have the permission to create Staff Users. Manager Users can delete Staff Users and other Manager Users, if they have the permission to create users. Enterprise Users can delete both Staff and Manager Users when logged in.
To delete a user, go to Settings > Practice Settings > Users and locate the user. From the user's (...) Actions menu, select Delete User.

Searching for Users
To quickly search for a Staff or Manager User, navigate to Settings and use the Selected Practice drop-down menu to choose the Practice where you want to search from.
Use the filters to filter by the user's name or email, their user role (Staff or Manager), and the line that is associated with their profile.

To refresh your search, select Clear Filters.
Staff User Updates
As new lines are added to your Practice, you may need to update your Staff User profiles to ensure all patient messages are being viewed and receiving responses.
Review the following articles for instructions:
- Add New Phone Line to an Existing Practice
- Add New Location to an Existing Practice
- Add New Provider to an Existing Practice
**Looking for more? See how Artera can empower your team with AI in healthcare communications.